Here is my final rendering of the alien head in marmoset toolbag 2. I used some lights in marmoset to make it look like glowing eyes
To make the head I first make a base colour of light brown and the added some darker browns on places that look like harder skin and slowly built up the texture.
This is my finished cottage in marmoset toolbag 2
In this lesson I started on the front of the cottage. The images below show I created the diffused map for the front of the cottage.
To make the wall I first put down some wall textures and then used high pass the blur the seam.
I then changed the colour to want I wanted to us and used a mask to remove the texture for places I don`t need it.
I then add the wood texture and used the mask again.
Then I painted a stone texture under the window.
Finally added a rock wall texture to the bottom of the wall and added a grey dry brush to the edge of the texture.
After finishing the front side of the cottage I done the side walls. for this I used the same techniques I used to make the front wall.
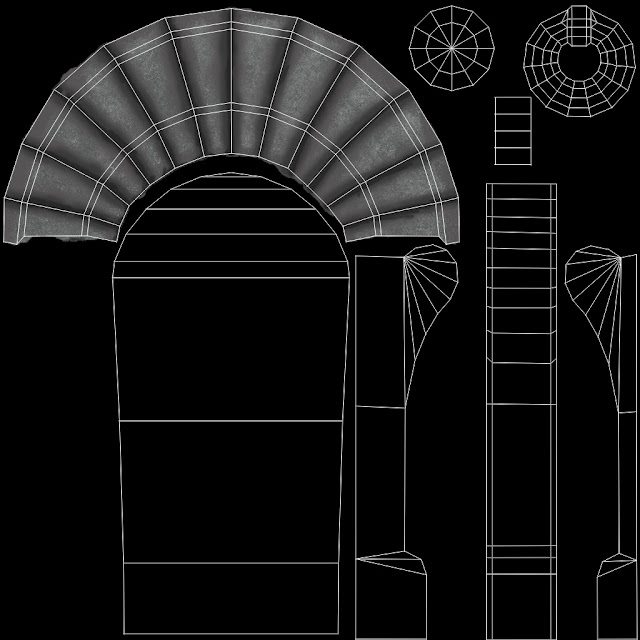
In this lesson I started on the cottage. For the first part we got the cottage door folder in it was the high poly and low poly mash.
I first created the normal map got the door by using the high and low poly mashes.
This is my normal map the errors are created by missing mashes.
I started of by adding some flat colours for the top part of the door
I then built up the detail the started on the pillar
This is my diffused map
This is my finished normal map
This is my specular map
This is how it looks in marmoset toolbag 2
For my first attempt at creating a texture normal map I decided to make a normal map for a vent texture. The first image above shows the original vent texture.
On this image you could see I created more depth by making the shadows more pronounced.
then I merged layers and surface blur the texture
to make it in to a normal map I when into Xnormal plugin and picked height to normal to make the depth more detailed I duplicated the layer and changed to multiply
I then used Xnormal plugin used to normalize the normal map.
This is my gloss map
This is my Specular map
This is my diffused map
This is how it looks on marmoset toolbag 2