For my first attempt at creating a texture normal map I decided to make a normal map for a vent texture. The first image above shows the original vent texture.
On this image you could see I created more depth by making the shadows more pronounced.
then I merged layers and surface blur the texture
to make it in to a normal map I when into Xnormal plugin and picked height to normal to make the depth more detailed I duplicated the layer and changed to multiply
I then used Xnormal plugin used to normalize the normal map.
This is my gloss map
This is my Specular map
This is my diffused map
This is how it looks on marmoset toolbag 2
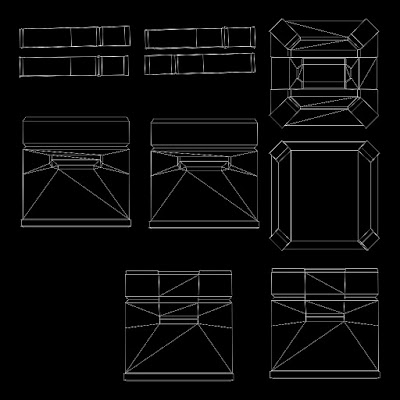
For this task I was provided a science fiction crate which comes with both high and low ploy versions.
My first image shows the low ploy crate and the second shows the high poly crate. Firstly I created a UV map and then created a normal map using the high and low ploy.
This shows the low ploy crate with the normal map applied.
On the images above shows how I built up the textures.
This is the finished normal map.